(12) Setting up Autopilot for Intune Connector for Active Directory
- Mr B SOE way
- Jun 23, 2022
- 2 min read

Updated: Jun 29, 2022
This post is simply a step by step guide to help you set up the Intune Connector for Active Directory (to use its proper name) otherwise known as the AD hybrid join connector for Windows Autopilot. Whatever you’re calling it, it’s the connector that we need to install on one of our servers to act as the go-between to perform the domain join part of a hybrid join when we’re using Autopilot.

There will be two parts of the setup process:
1. Increase the Computer Account Limit in the Organization Unit (OU)
2. Install the Intune Connector for Active Directory
Increase the Computer Account Limit in the Organization Unit (OU)
1. Log onto a DC with the appropriate, you can create an OU or existing an OU. Navigate to an OU you wish to delegate, for this right click on the OU and select Delegate Control

2. Under "Welcome to the Delegation of Control Wizard", select Next.

3. Select "Add" as we need to grant the server with the permissions.

4. Select "Object Types" then select "Computers" then select OK.

5. Enter in the server name: and select Check Name then OK.

6. Select "Next" since that is the correct server name

7. Under Delegation of Control Wizard, select "Create a custom task to delegate"

8. Under Active Directory Object Type, select "Only the following objects in the folder", scroll down till you see "Computer Objects", tick on that as well as "Create selected objects in this folder" and "Delete selected objects in this folder". Then select Next.

9. Under Permissions, "General" will be ticked by default. Tick the following: "Property-specific" and "Creation/deletion of specific child objects." As well as tick "Full Control". Then select Next.

10. Then select Finish

Install the Intune Connector for Active Directory
1. Navigate to https://endpoint.microsoft.com/ then select Enroll devices

2. Select Intune Connector for Active Directory

3. Then select Add then select Download the on-premises Intune Connector for Active Directory.

4. Run the installer, and select "I agree to the license terms and conditions" then select "Install"

5. Select Configure Now

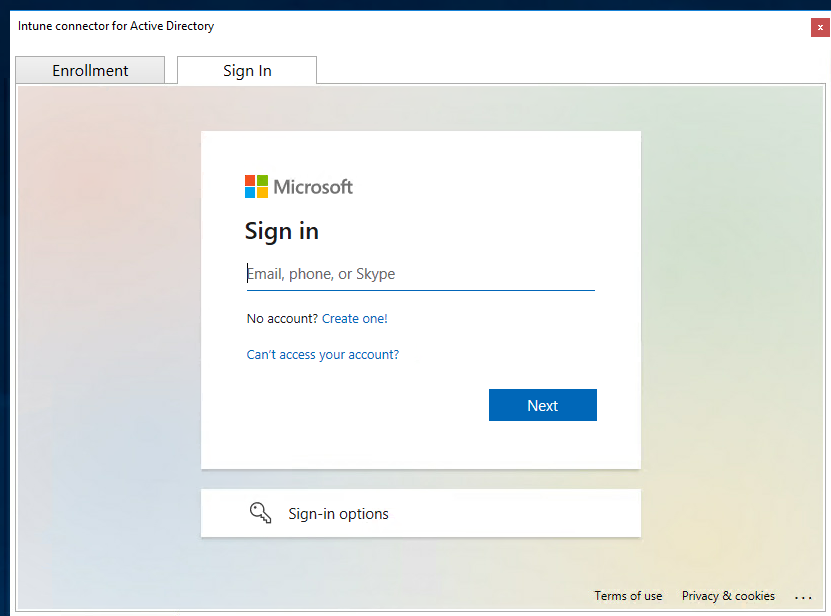
6. Select Sign in, then login with a Global Administrator Account.

7. Select the "X" at the top right to once Intune Connector for Active Directory is installed.


Comments