(36) Setting Up Azure Privileged Identity Management (PIM)
- Mr B SOE way
- Dec 2, 2022
- 1 min read

Thought I start with a post that is recommended to be setup within an organisation. The reasons to use this is to minimise the number of people who have access to secure information or resources because the changes of:
a malicious actor getting access
an authorized user inadvertently impacting a sensitive resource
Licensing:
Azure AD Premium P2
Enterprise Mobility + Security (EMS) E5
Key Features:
Provide just-in-time privileged access to Azure AD and Azure resources
Assign time-bound access to resources using start and end dates
Require approval to activate privileged roles
Enforce multi-factor authentication to activate any role
Use justification to understand why users activate
Get notifications when privileged roles are activated
Conduct access reviews to ensure users still need roles
Download audit history for internal or external audit
Prevents removal of the last active Global Administrator role assignment
Setup:
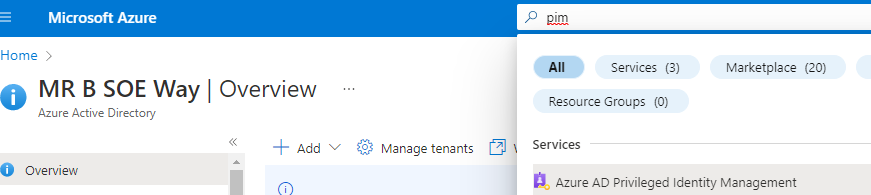
1. Navigate to https://portal.azure.com then in the search bar, enter in PIM then select Azure AD Privileged Identity Management
2. Select Azure AD Roles

3. Select Assign Eligibility

4. Select Add assignments

5. Select the following:
Role: Global Administrator
Member: Whoever will need Global Administrator access
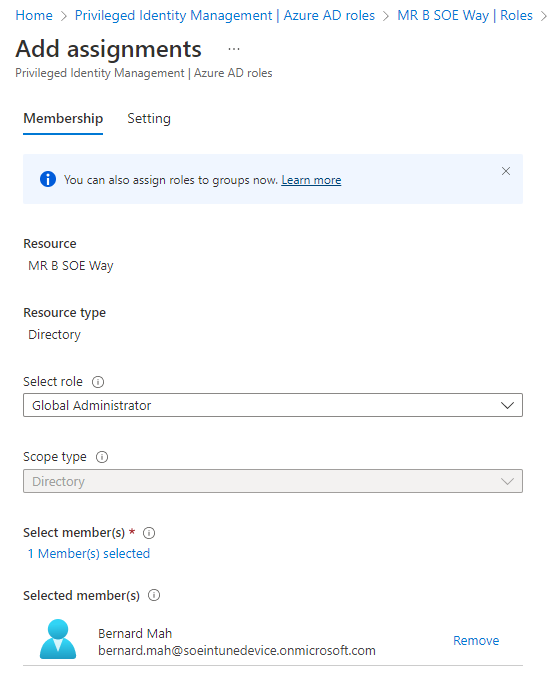
6. Under Setting, select the following:
Assignment Type: Eligible
Assignment Starts: Select a date
Assignment Ends: Select a date

7. Once completed, go to Roles and search for Global Administrator. Select on Global Administrator.

8. Select Role Settings

9. Then select Edit

10. Update the Activaction maximum duration (hours) to 2 hours. Configure to what is suited for your environment.


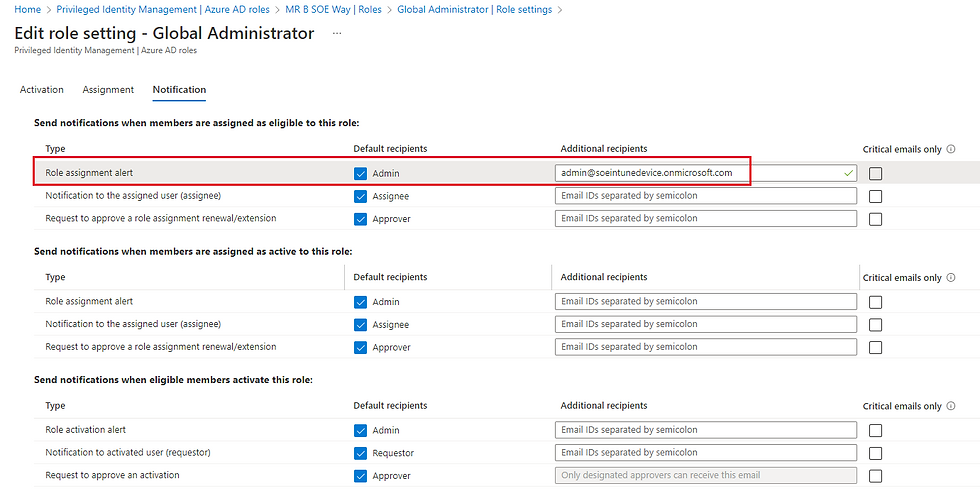
11. You can change the notification template, and update with the following. Once happy, select Update.


Comments