(69) Managing Servers with Azure Arc
- Mr B SOE way
- Jun 6, 2023
- 2 min read

When you have a hybrid or multi-cloud deployment, maintaining security and compliance across multiple environments while keeping track of costs can quickly become a night. With Azure Arc it provides central management of resources deployed on-premises.
Prerequisites:
An azure account with an active subscription
An on-premises Linux or Windows server
Firewall on server must allow port 443 for the Azure Arc agent to communicate with Azure via HTTPs
Network: https://learn.microsoft.com/en-us/azure/azure-arc/servers/network-requirements?tabs=azure-cloud
Registering Azure Resource Providers:
Microsoft.HybridCompute
Microsoft.GuestConfiguration
Microsoft.HybridConnectivity
Azure Arc Onboarding:
For getting machines onboarded in Defender for Cloud we need to make sure the machine is correctly onboarded in Azure Arc. Currently, multiple methods are available for deploying the Connected machine agent:
Add a single server
Add multiple servers
Add servers from Update Management
Add servers with Azure Migrate
1. Navigate to https://portal.azure.com
2. Search for Azure Arc
3. As I have a single lab server, I will be using "Add a single server"

4. Select "Next"
Important:
HTTPS access to Azure Services: Port 443 and connection for outbound URLs
Local administrator permission: Onboarding requires local administrator permission on the server.
Connectivity method (internet/ proxy/ public/ private)
Service Principal with Azure Connected Machine Onboarding Role (when using multiple servers option)

5. Select the following:
Subscription: The correct subscription if you have multiple
Resource group: rg-azurearc-servers-001
Region: Australia East [would be closest for me]
Operationg System: Windows
Connectivity method: Public endpoint

6. Select "Download"

7 . Run the script on server to install agent and onboard to Azure Arc.

8. Once successfully onboarded, Azure Arc will populate with the server here.

9. The "Azure Connected Machine Agent" has been installed successfully.

Azure Arc Windows Admin Center:
To read more about Windows Admin Center, view https://learn.microsoft.com/en-us/windows-server/manage/windows-admin-center/overview for more information
1. Under the Azure Arc Settings, select Windows Admin Center (preview) then select Set up.

2. Select "Install"
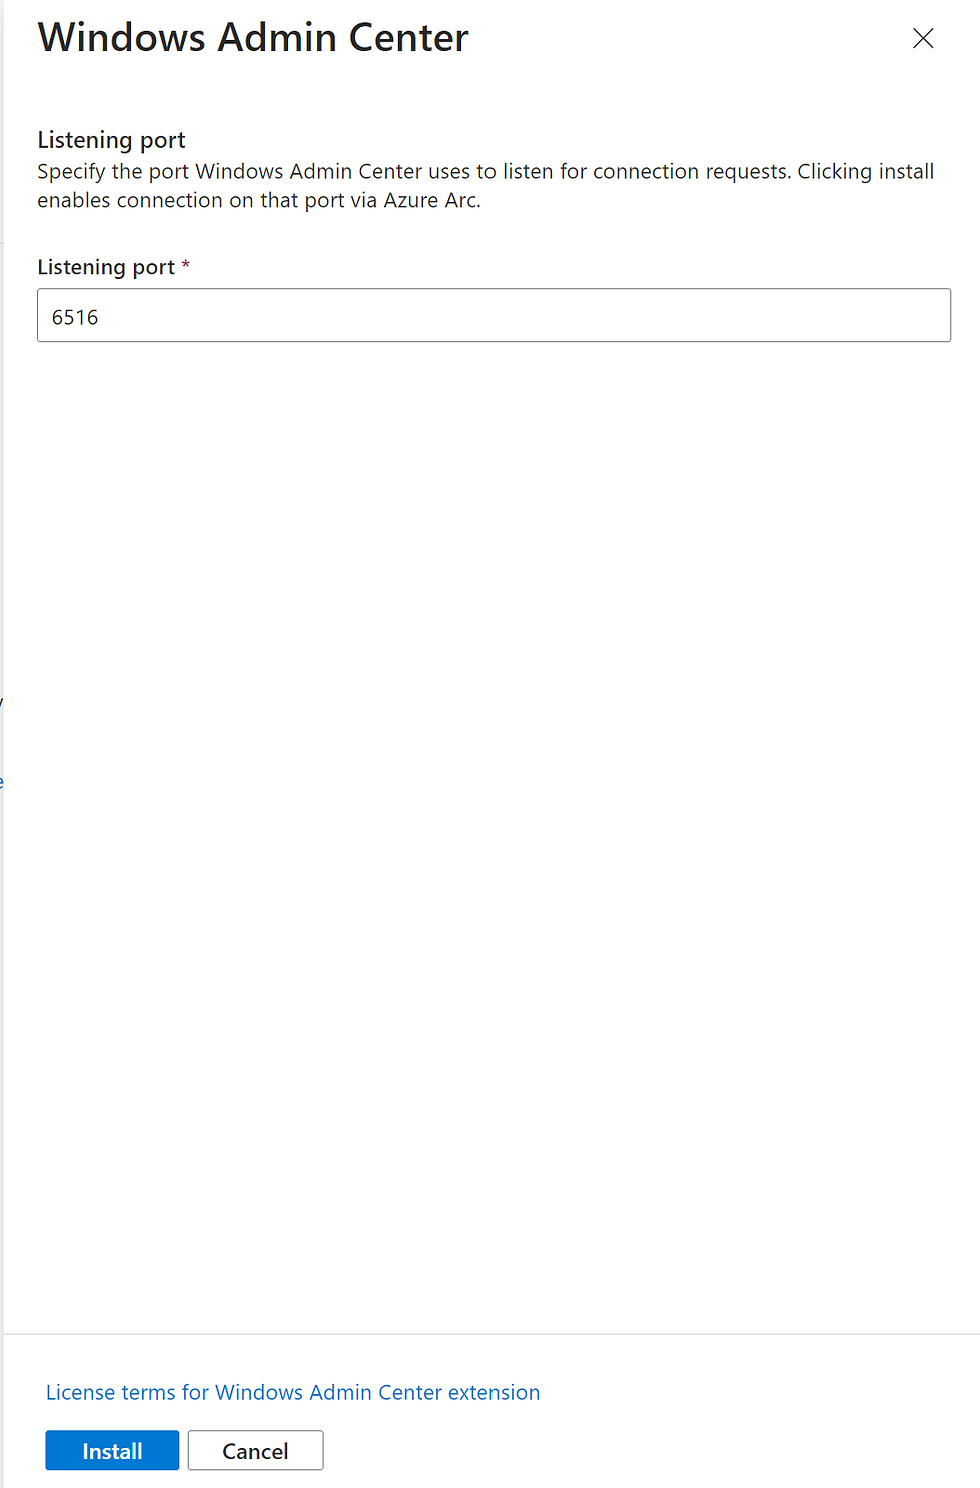
3. It has successfully installed extension.

4. To ensure users can access the server, navigate to Access Control (IAM) and grant "Windows Admin Center Administrator Login" role.

5. Refresh the page, and you will displayed to login with the credentials to the server.

It will start loading the "Windows Admin Center"

6. It will then show the "Overview" of the server.

Azure Arc Automanage:
To read more about Azure Arc Automanage, view https://learn.microsoft.com/en-us/azure/automanage/automanage-arc
1. Under the Operatings Settings, select Automanage then select Azure best practices: Dev / Test

2. The Status will show up as "New"

Then Status will show "In progress"

Soon after it will be "Successful"

Azure Arc Update Management:
To read more about Azure Arc Management, view https://learn.microsoft.com/en-us/azure/automation/update-management/overview.
1. Under the Operatings Settings, select Updates.
2. There is nothing show up.

3. By selecting "Switch to Update using Automation", it loads to this page.

4. Select "Schedule update deployments", enter in the following:
Update deployment name: Lab Server Monthly Patch
Maintainence Windows: 120 minutes
Reboot options: Reboot if required

5. Select "Update now".

6. Select "All updates", optional to untick the not required.

7. Optional to include pre-script and post-script
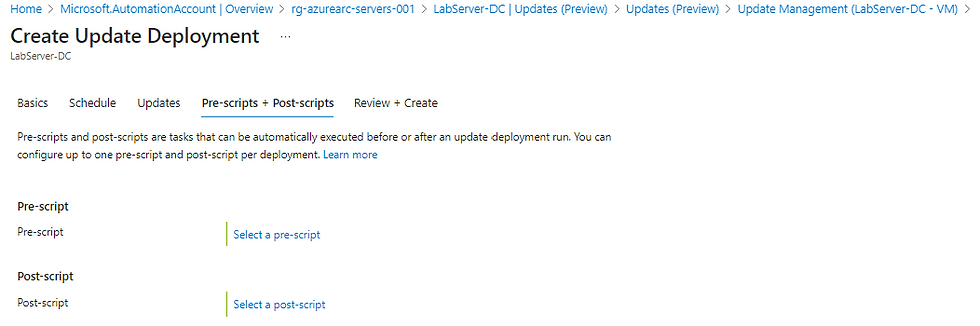
8. Select Create.

9. Viewing the updates, I can see that it installed an update at 12.52pm on the 6/6/2023


Comments