(17) Setup Azure AD Connect on Home Lab
- Mr B SOE way
- Jul 13, 2022
- 2 min read

Updated: Jul 14, 2022
Since updating my domain name to an appropriate naming convention as per post: https://soeintunedevice.wixsite.com/home/post/16-update-domain-names-in-office-365
The steps are as follow:
1. On your server, as this is a lab environment it's sitting on my DC. In a production environment, it's not best to put the AADC on the DC. Download the connector from https://www.microsoft.com/en-us/download/details.aspx?id=47594

2. Run the installer on the new server, select "I agree to the license terms and privacy notice" then select Continue.

3. I have selected "Use Express Settings" to get the Microsoft AAD Sync Account automatically created.

4. To connect to Azure AD, login with the credentials then select Next.

Note: Ensure the account has been excluded from any Conditional Access Policies or else this will fail.
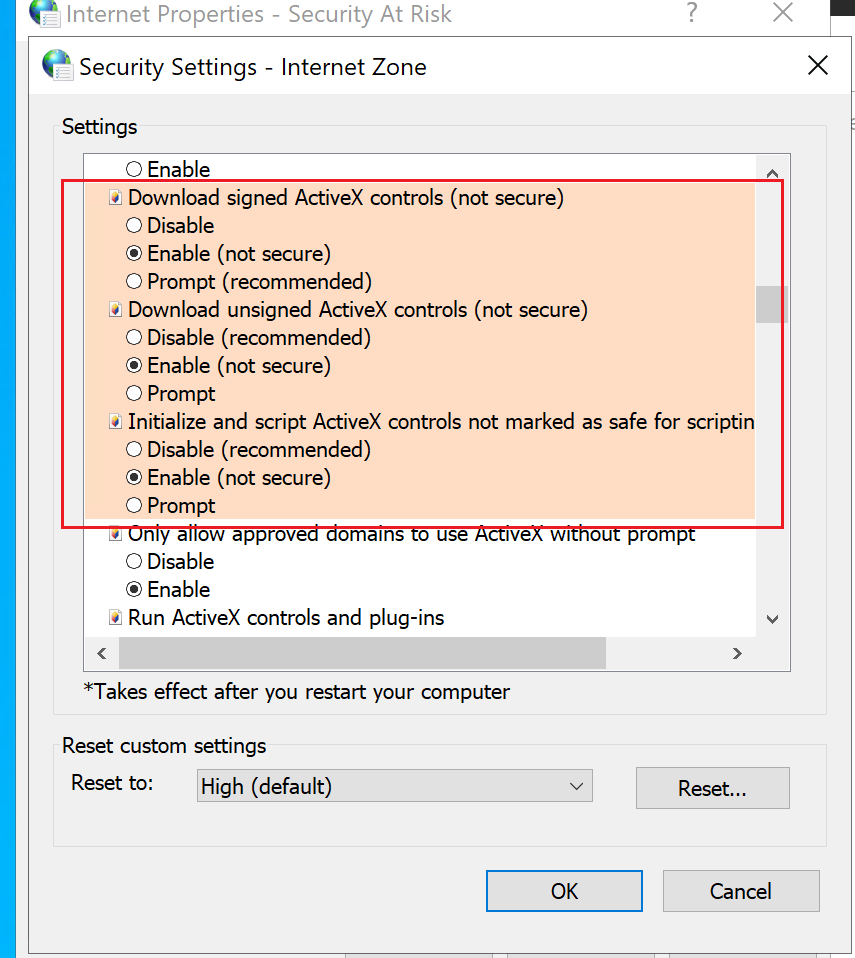
Also ensure that "Internet Options" are configured and enabled with the following:
5. Next login with your credentials to Connect to AD DS then select Next.

6. On the DC or server, I updated the Active Directory Domains and Trust. Right click on Active Directory Domains and Trust then select Properties, manually enter the UPN suffixes based on what has been setup within https://portal.office.com/AdminPortal/?#/Domains. In this case: soeintunedevice.org then select OK then close it.

Note: Ensure to go to Active Directory Users and Groups then update the user's UPNs to @soeintunedevice.org or any other UPN you wish for them to use.
7. Select "Continue without matching all UPN suffixes to verified domains" then select Next.

8. Then select Install.

9. If for any reason this shows up and fails. Click on the .log to view the error.

As per log issue, it was this where it needed to be provisioned.
Solutions:
(a) What I did was updated the On-Premises Directory Synchronization Service Account, excluded it from all the Conditional Access Accounts.

(b) Also run notepad as an administrator, then navigate to C:\Wndows\Microsoft.NET\Framework64\v4.0.30319\Config\machine.config. Just under /system.web>, added the following:
<system.net> <defaultProxy enabled="false"></defaultProxy> </system.net>

Then select Retry.
10. Then select Exit.

11. Next I uninstalled and re-installed everything again. The only reason why I did this was to get the MSOL_XXX account installed with the correct permissions. Select Customize

12. Leave everything unticked as default and select Install.

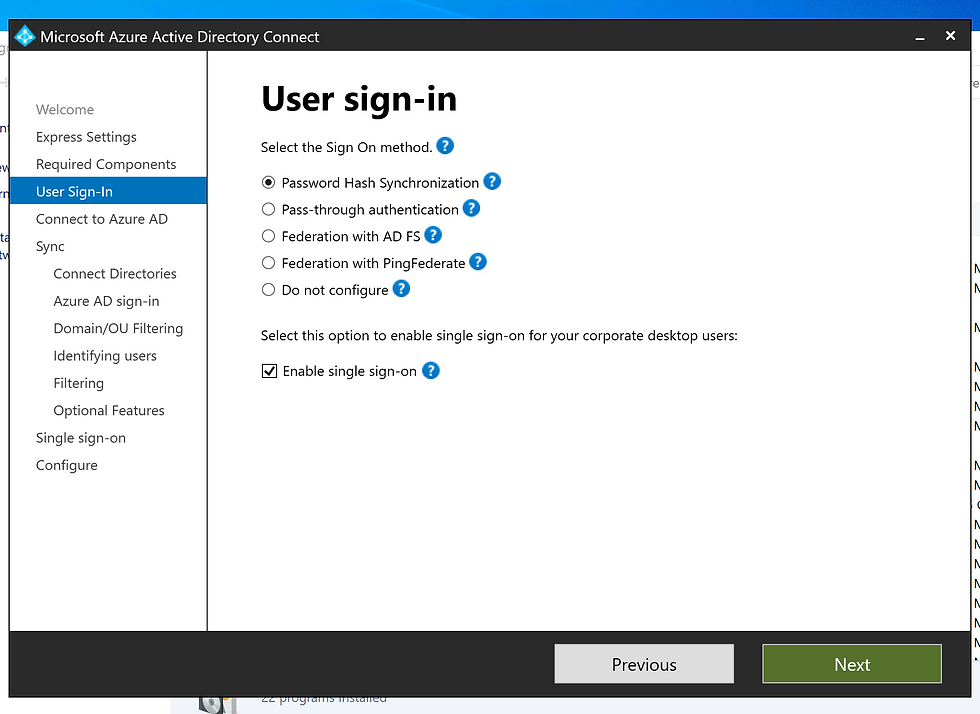
13. Select Password Hash Synchronization and select Enable Single Sign-On.
14. Login with an GA or Hybrid Identity Account and credentials, then select Next.

15. Under Directories, select Add Directory, in this case: soe.local

16. As the MSOL_Xxx account was created, look it up in AD then reset the password, re-enter the details here then select OK.

17. Then select Next.

18. Leave the default as it is, it is up to you to change the User Principal Name.

Select "Continue without matching all UPN suffixes to verified domains" then select Next.
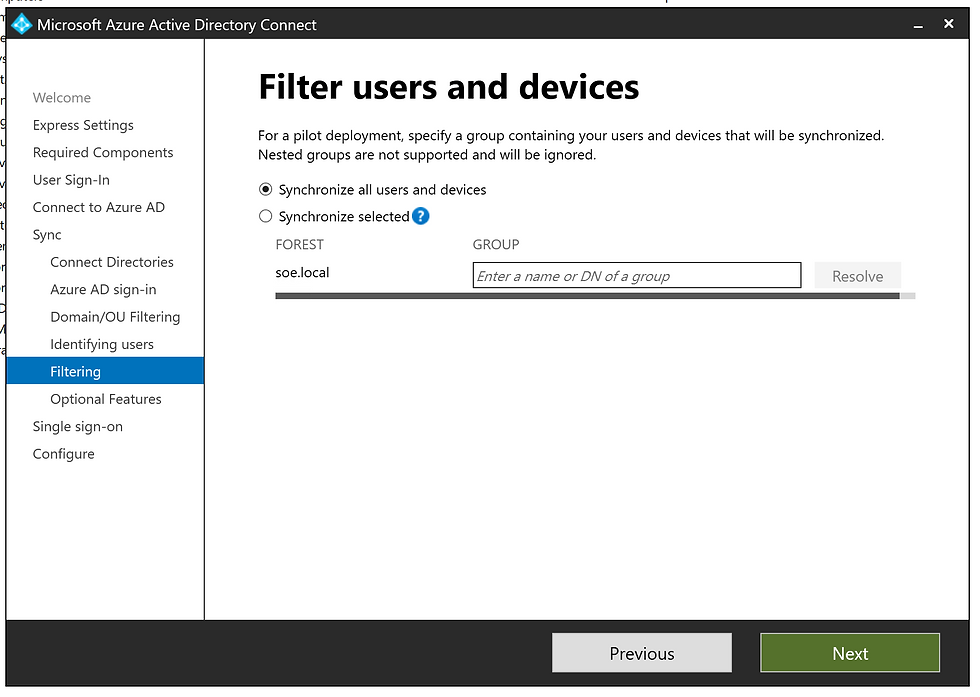
19. Select "Sync selected domains and OUs", optional to select sync all domains and OUs.
Then select Next.

20. Leave everything as default, then select Next. Optional to choose what your company requirements are.

21. Leave everything as default and select Next.
22. Select Password hash synchronization then select Next.

23. Enter the domain administrator credentials then select Next.

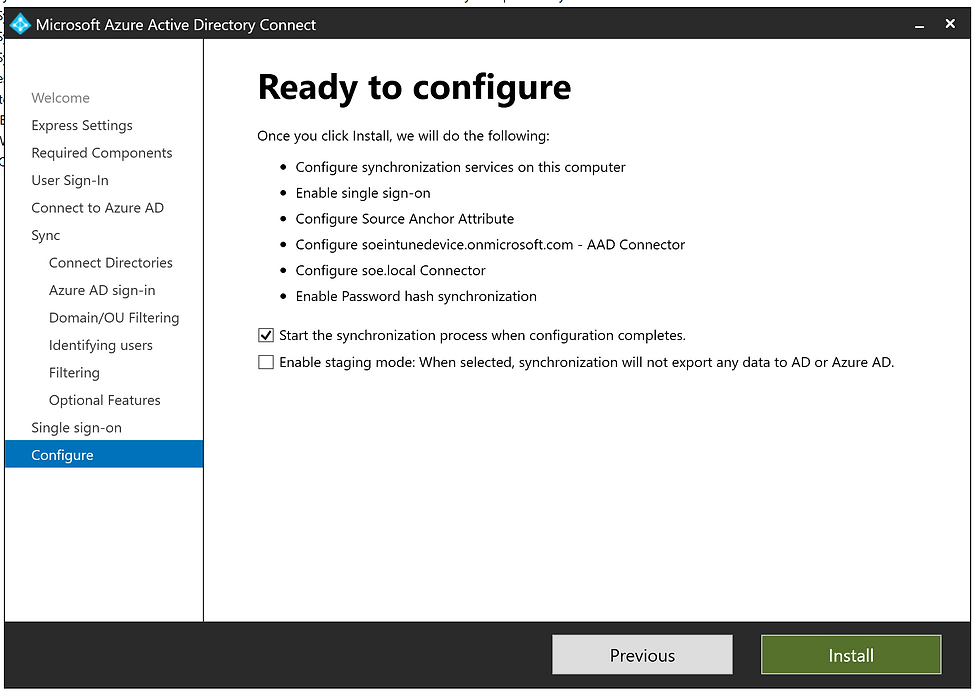
24. Then select Install.
25. Select Exit.
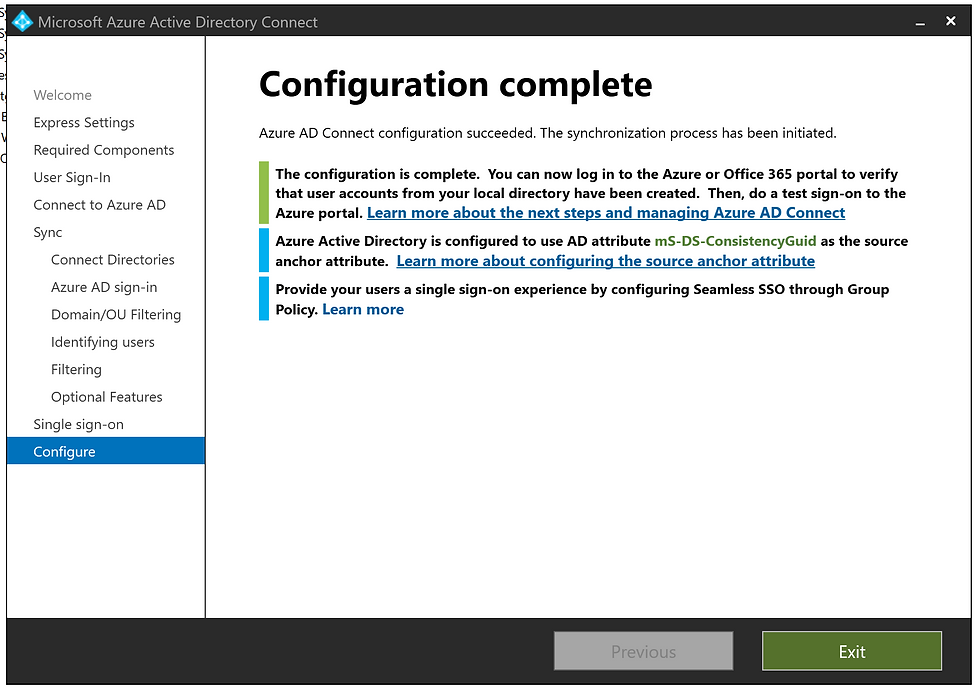
26. Ensure to log off and log back on, if you attempt to open up Synchronisation service this message will appear.

27. Go to Synchronization service and connectors are running, as well as check https://portal.azure.com/#view/Microsoft_Azure_ADHybridHealth/AadHealthMenuBlade/~/SyncServicesList
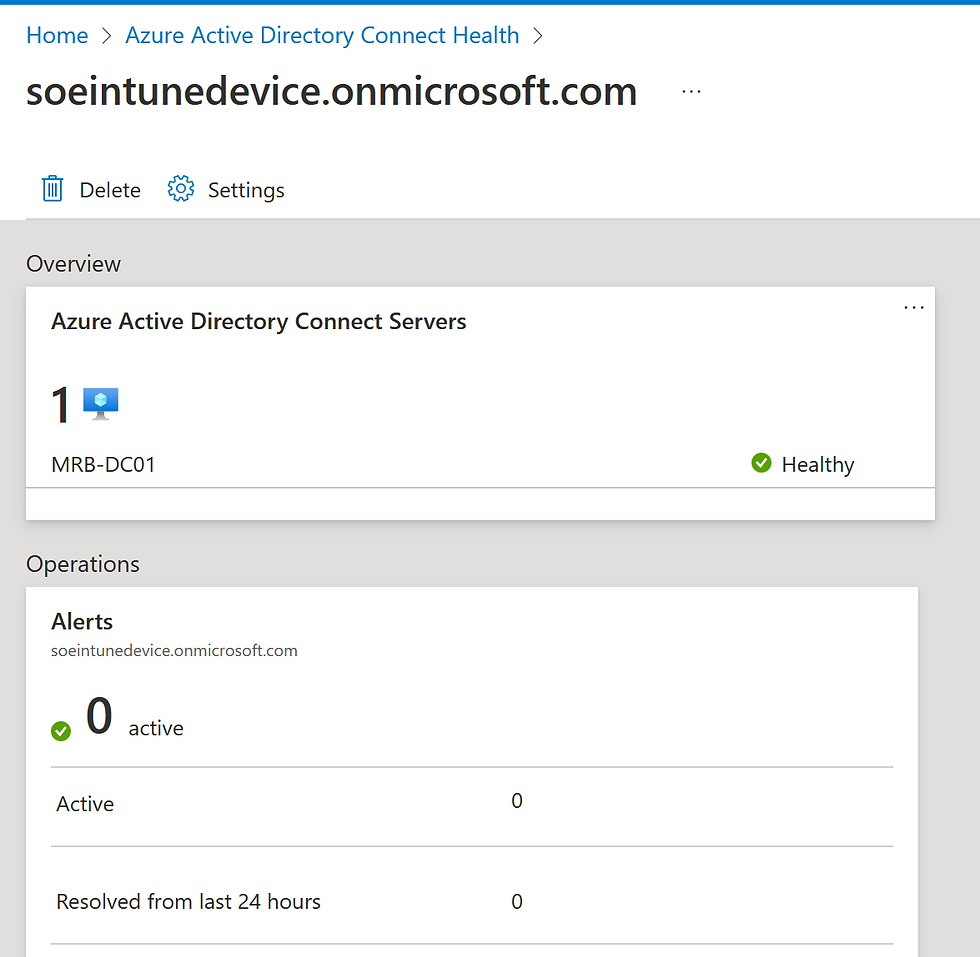
28. By navigating to https://portal.azure.com/#view/Microsoft_AAD_IAM/DirectoriesADConnectBlade, you will be able to see the last sync for Azure AD Connect.


Comments